








Creation of a photorealistic 3D lipstick
Description
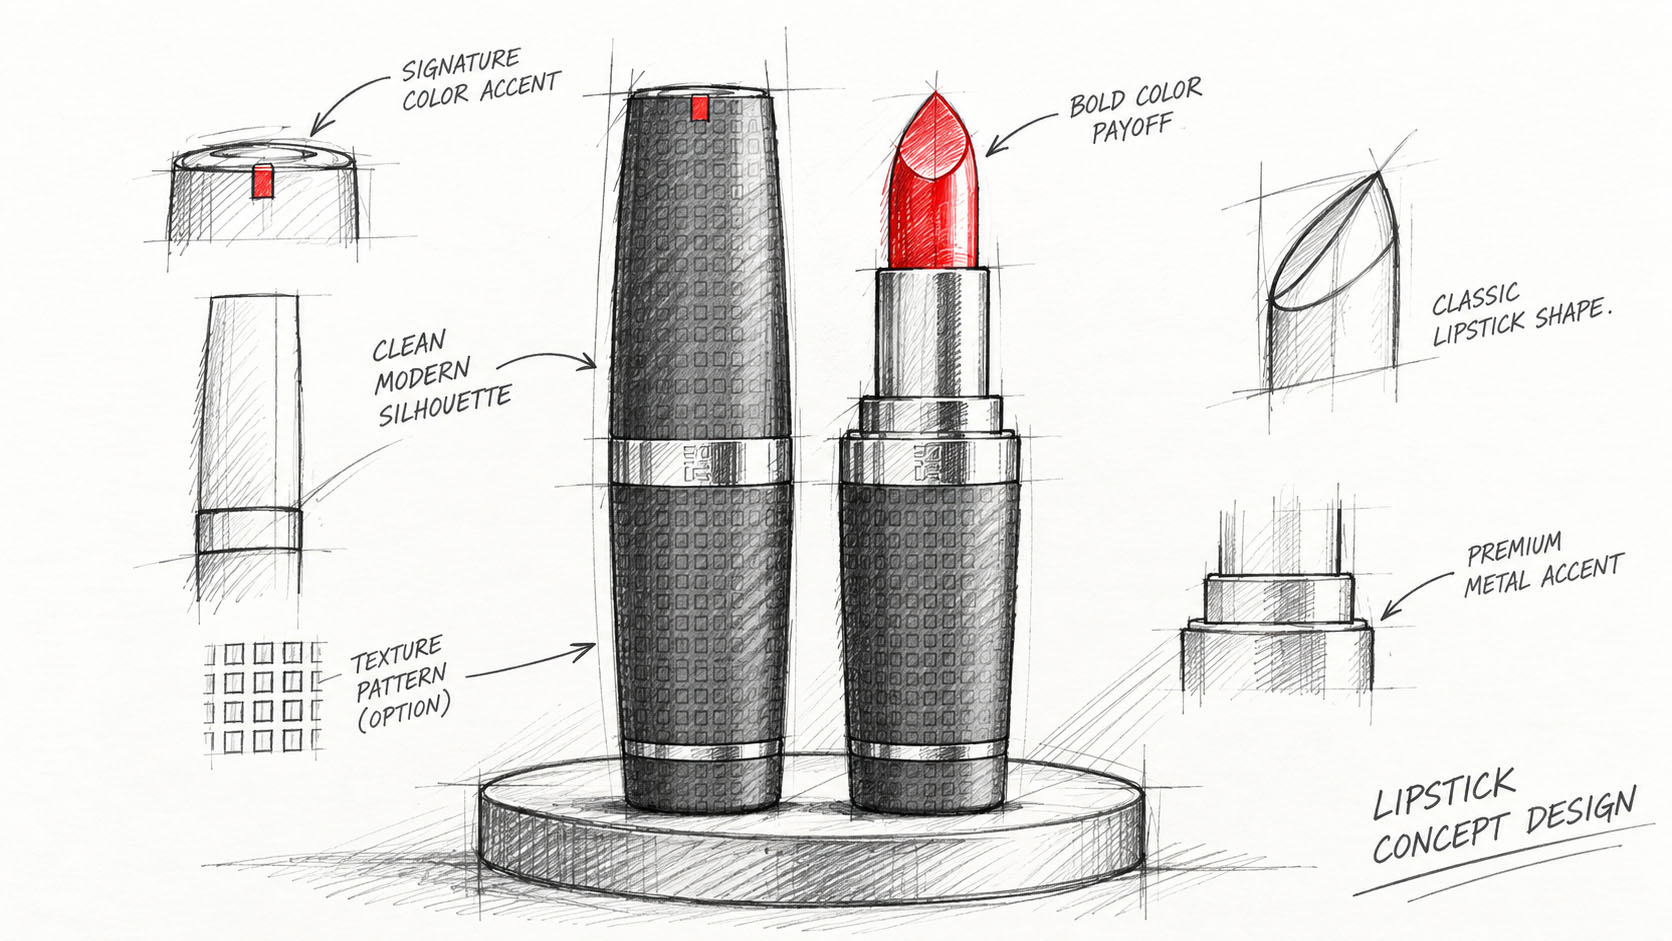
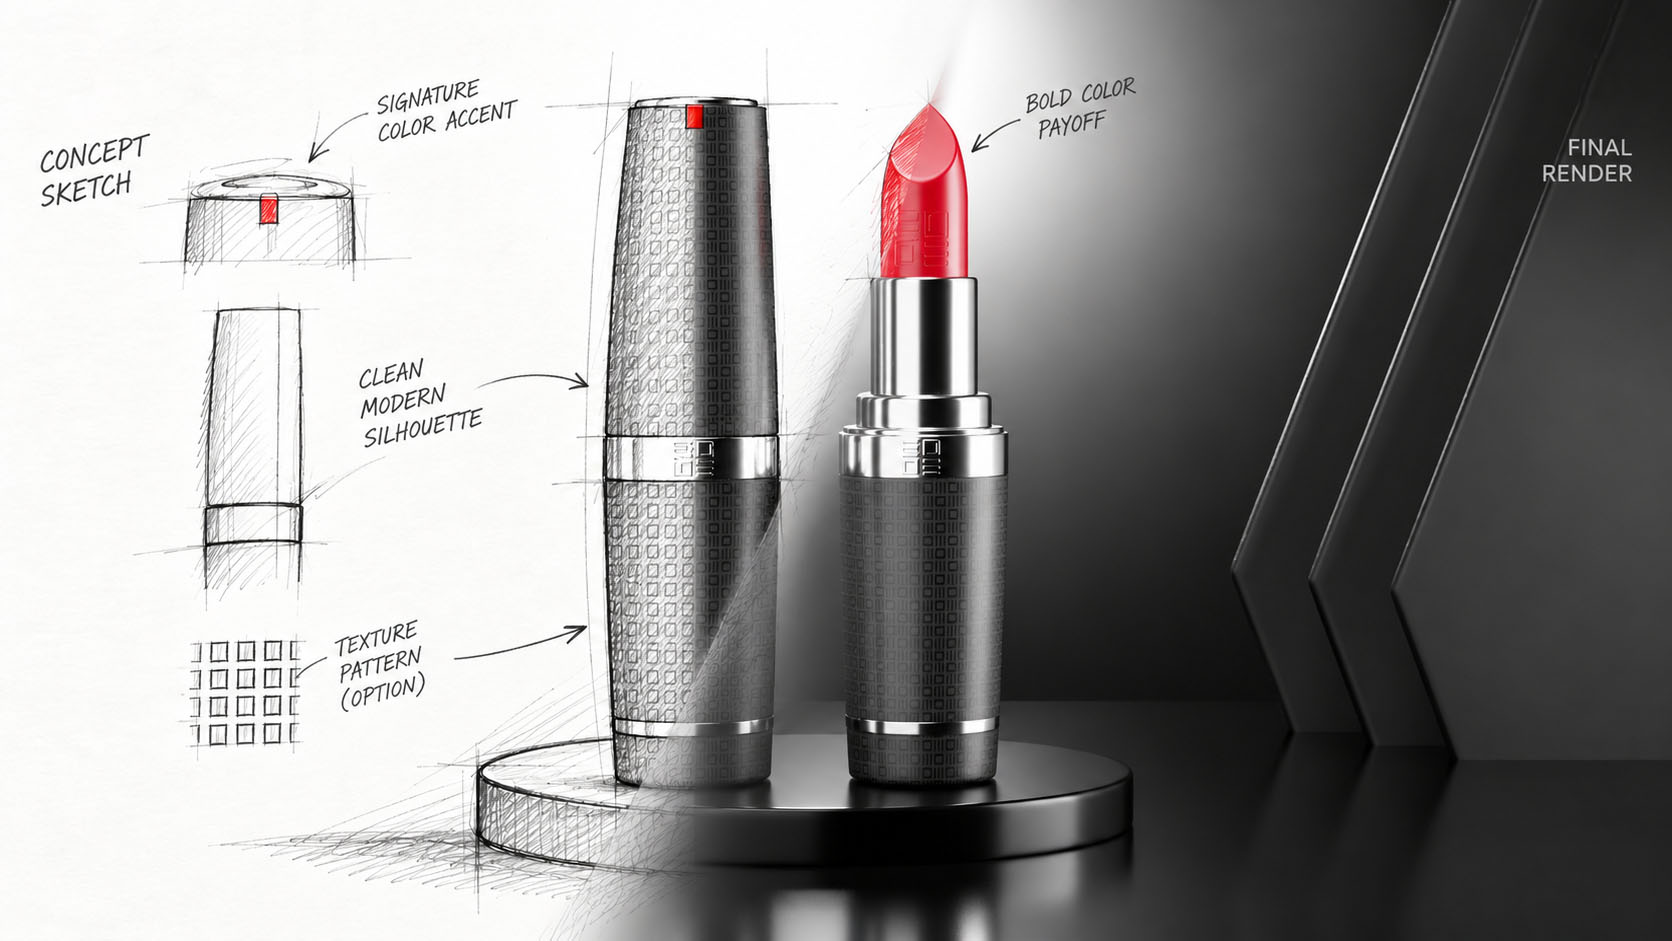
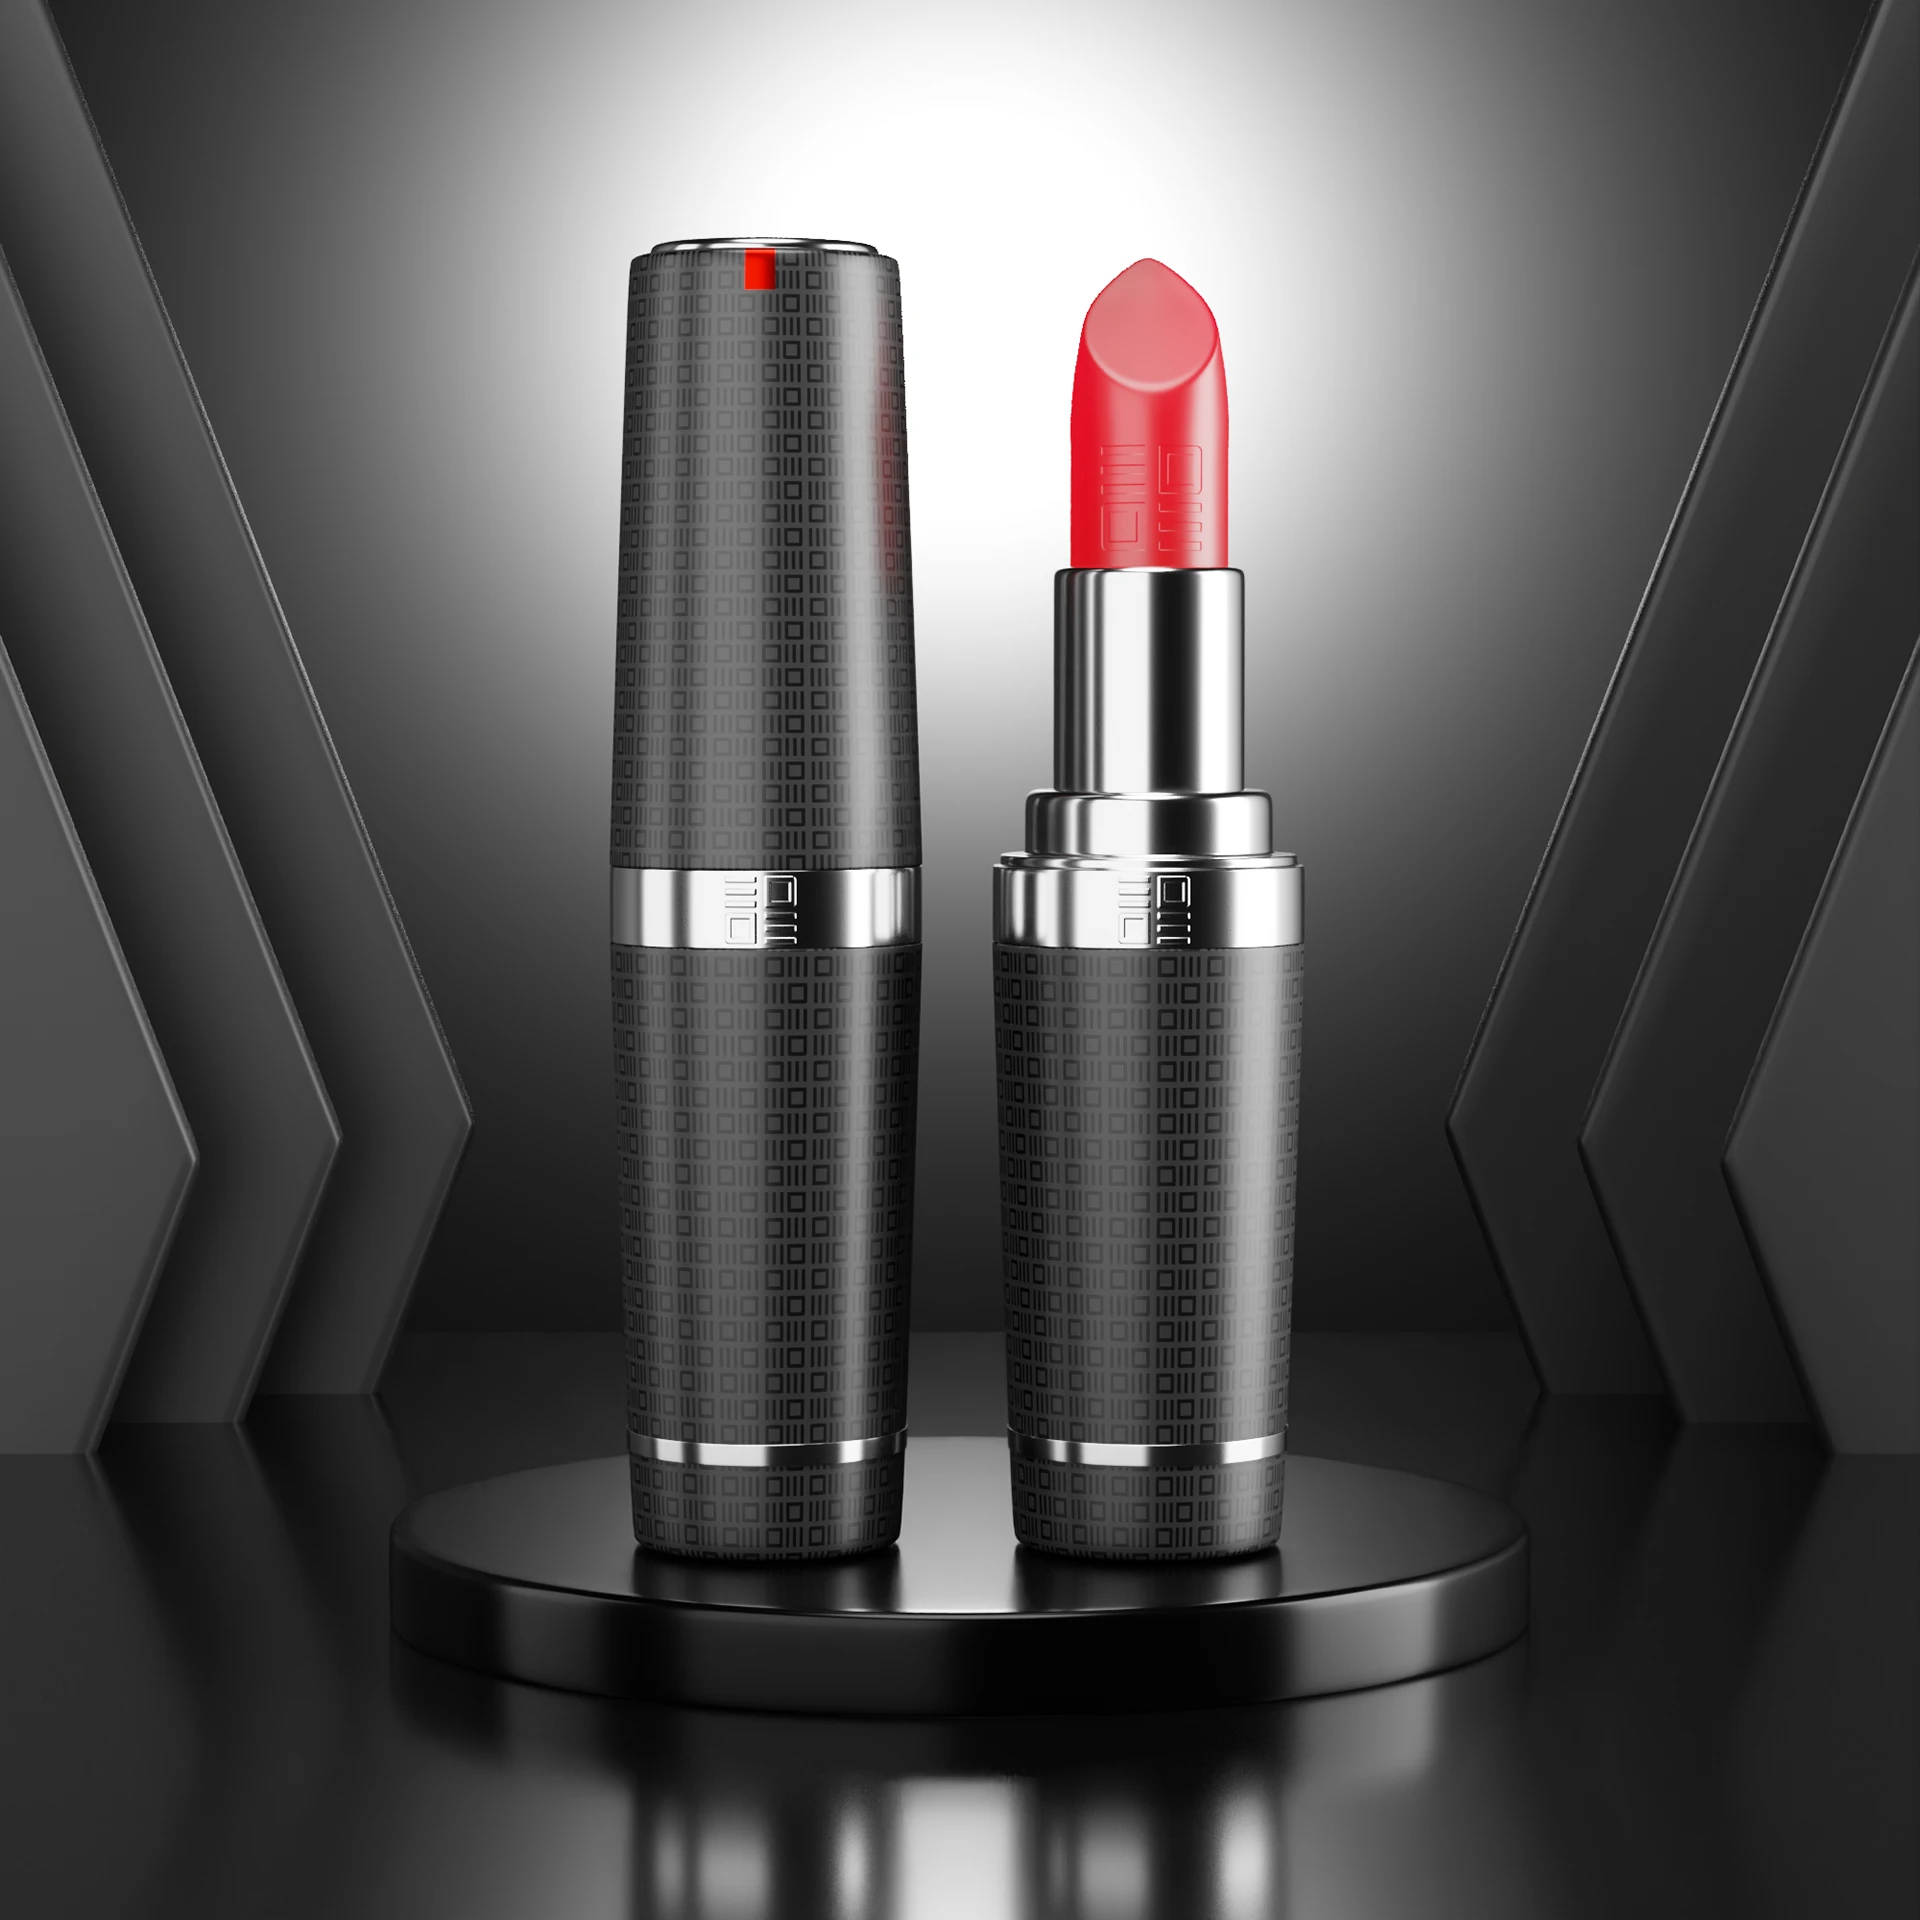
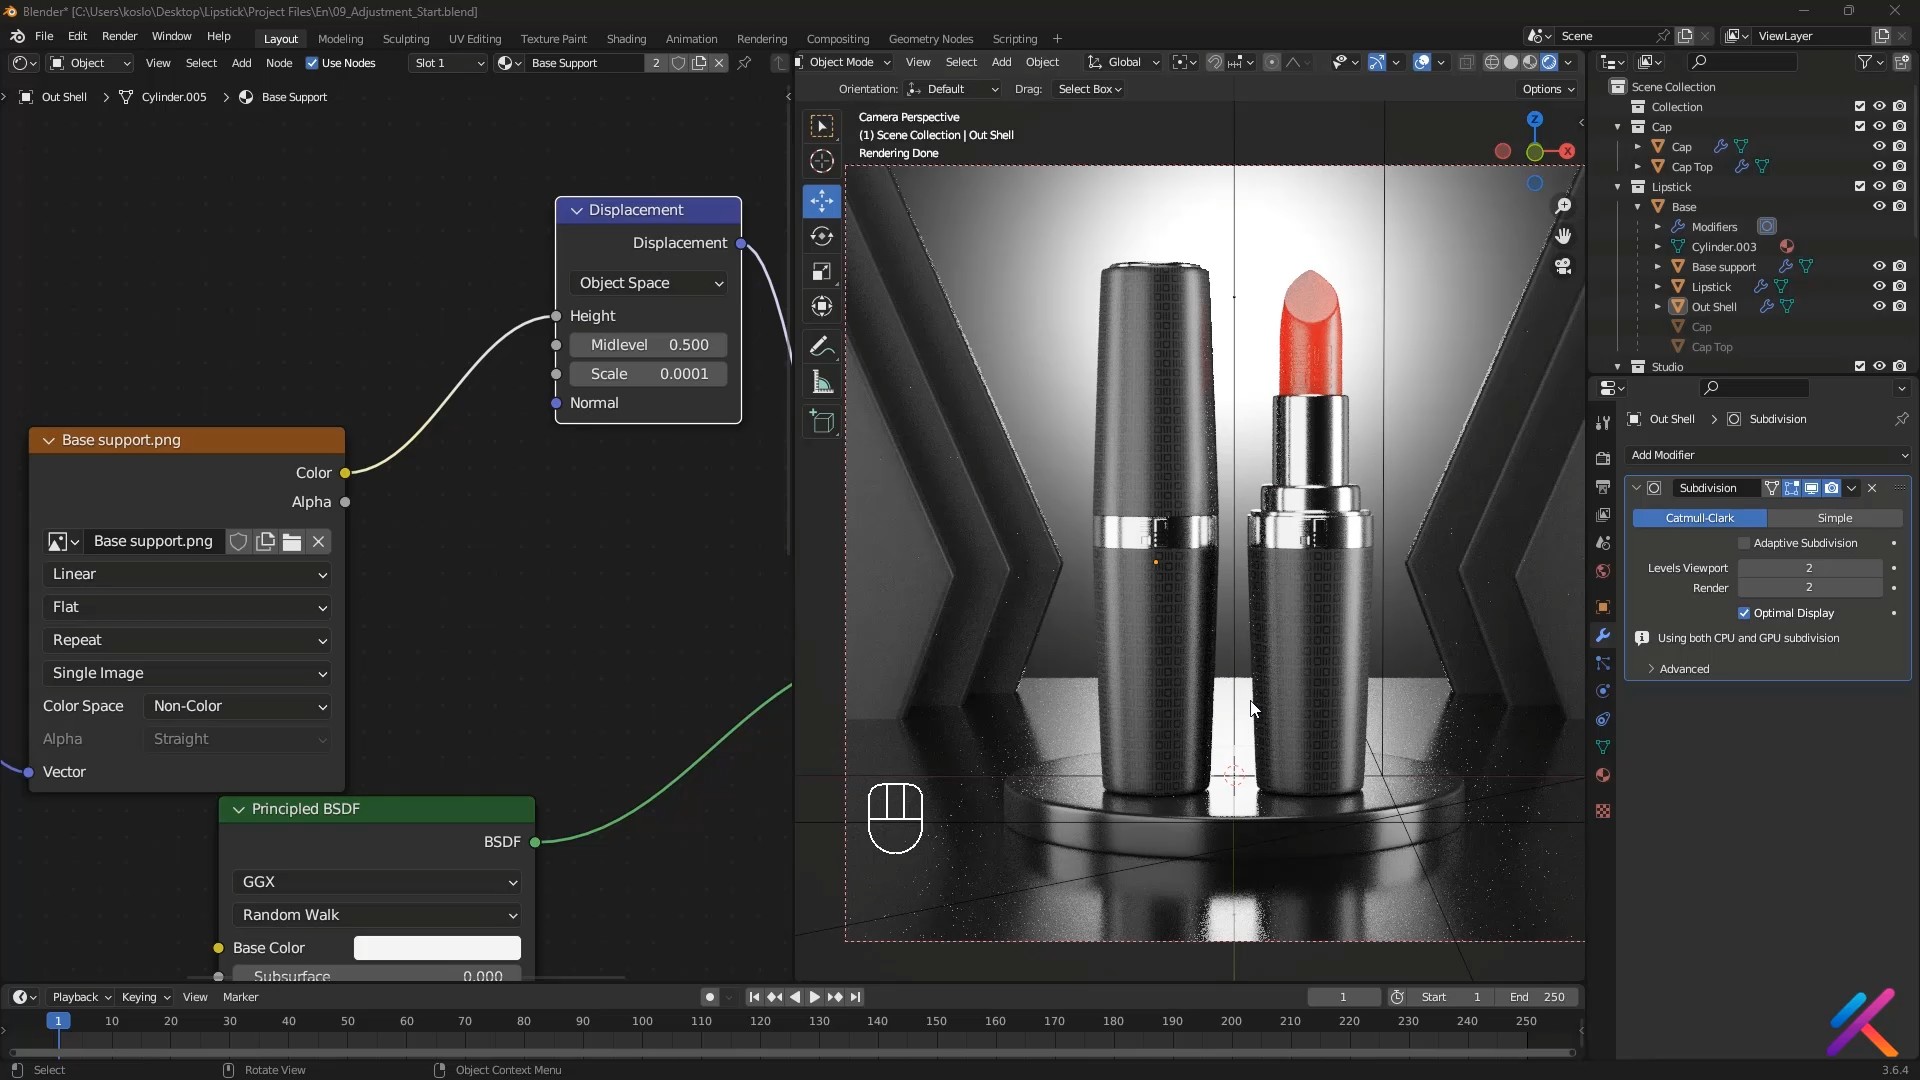
This project presents the realization of a 3D lipstick, designed as part of a training in 3D design and animation. The objective is to produce a photorealistic rendering highlighting the shape, materials, and characteristic details of a cosmetic product.
The project covers the different stages of creating a 3D object, from modeling the tube and the bullet to applying textures, colors, and finishes. Particular attention is paid to the realism of the surfaces, notably the metal, plastic, and creamy texture of the lipstick.
The staging and final rendering also allow for working on lighting, shadows, reflections, and visual composition to present the product attractively. This approach is part of the practices of product visualization and visual communication.
This project is aimed at learners, 3D designers, and creatives wishing to develop their skills in modeling, texturing, and photorealistic rendering in the field of 3D design and animation.
Project steps
The main steps in building this project
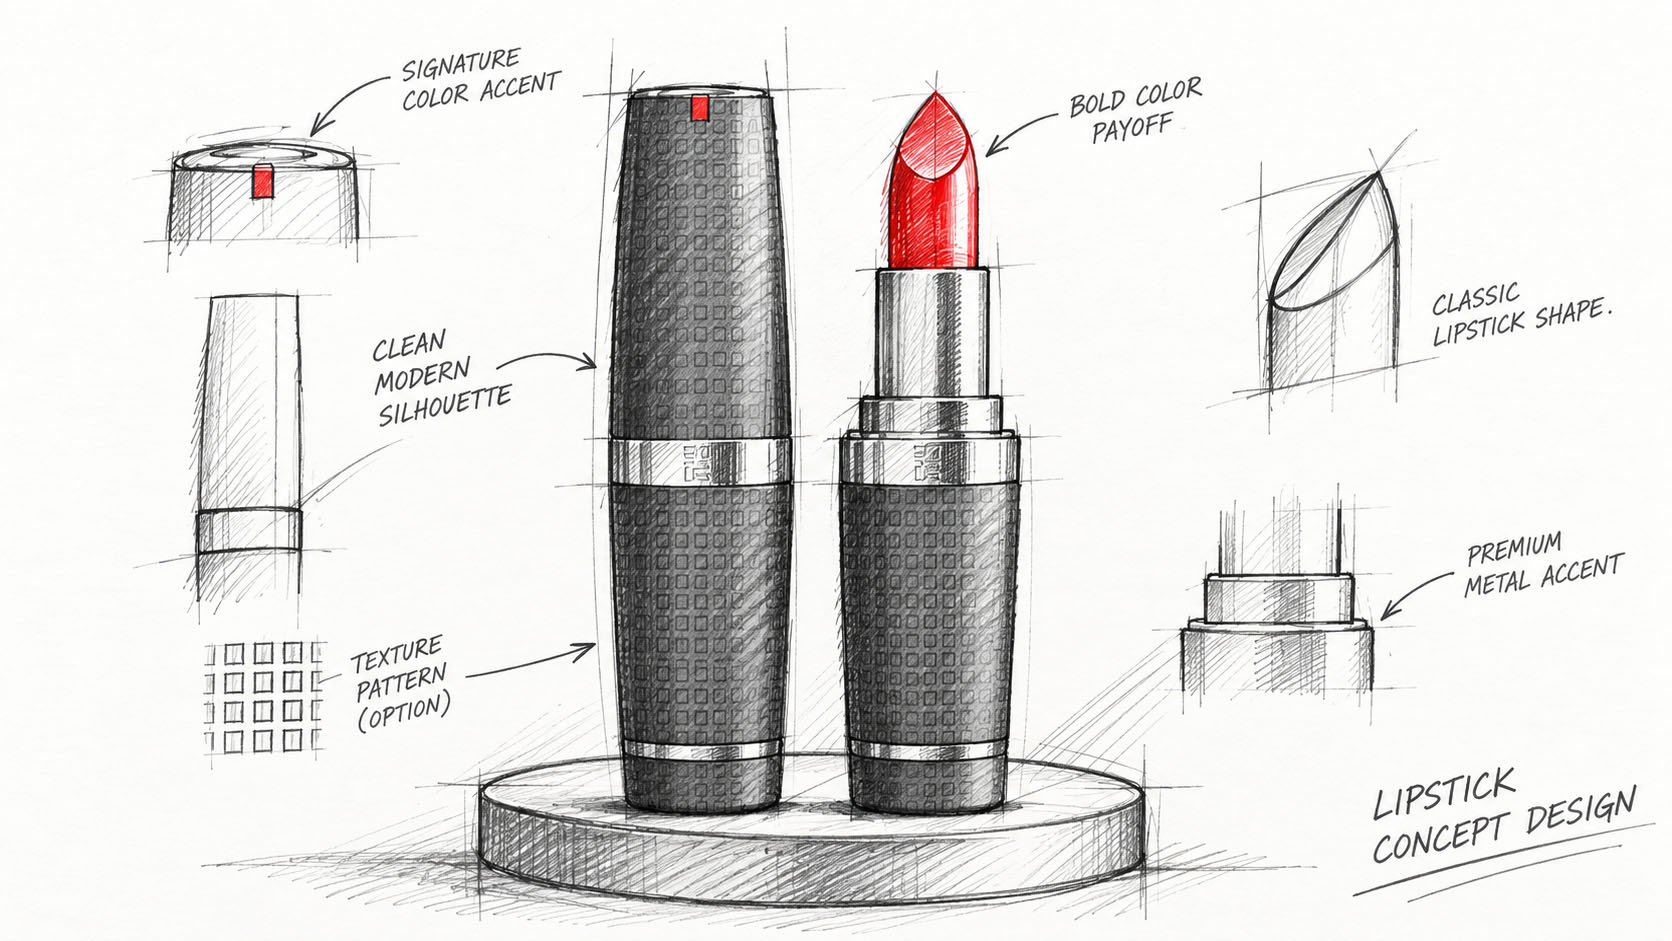
Step 1 — Definition of the idea and references
The project begins with the definition of an elegant and realistic lipstick, as well as the desired visual atmosphere. References of cosmetic packaging, materials, and advertising photographs are studied to guide the shapes, colors, and final composition.
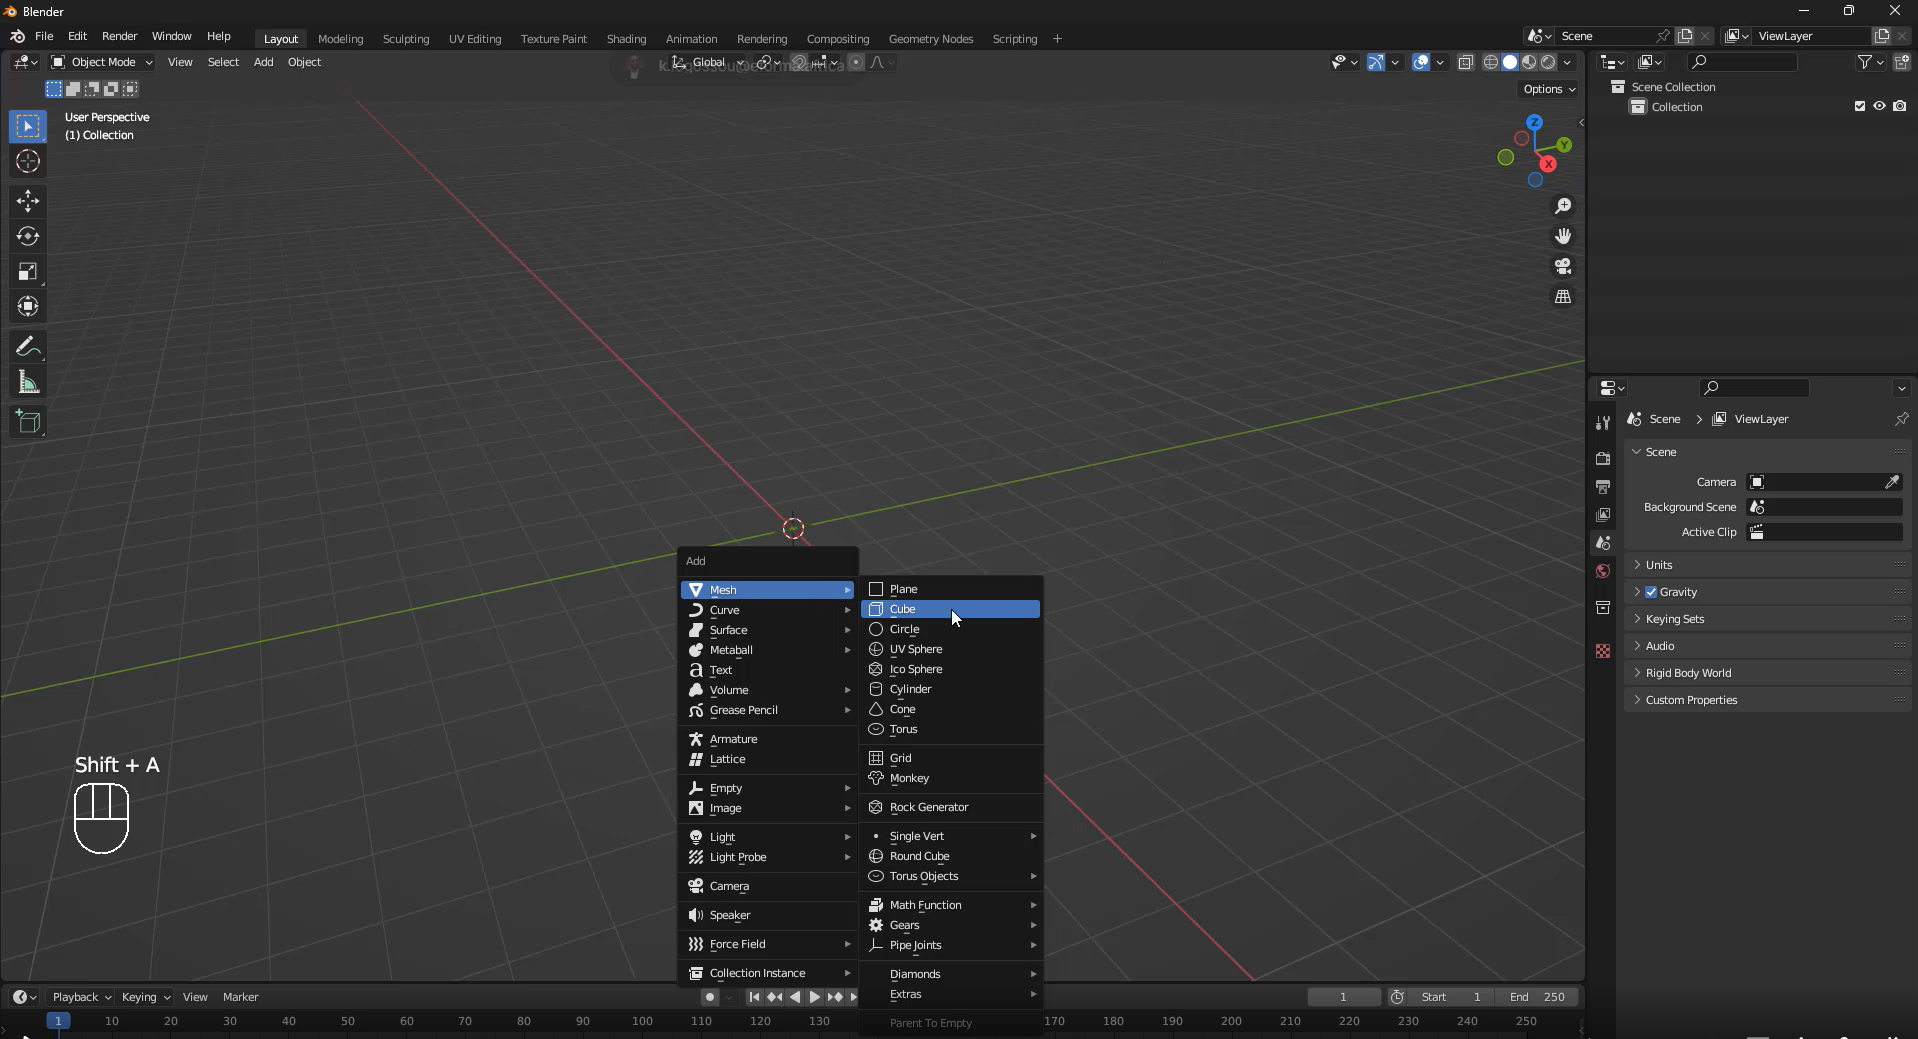
Step 2 — Preparation of the Blender scene
The scene is created in Blender, software used for the entire project. The units, the organization of collections, and the main elements of the set are prepared to facilitate modeling, applying materials, and rendering settings.
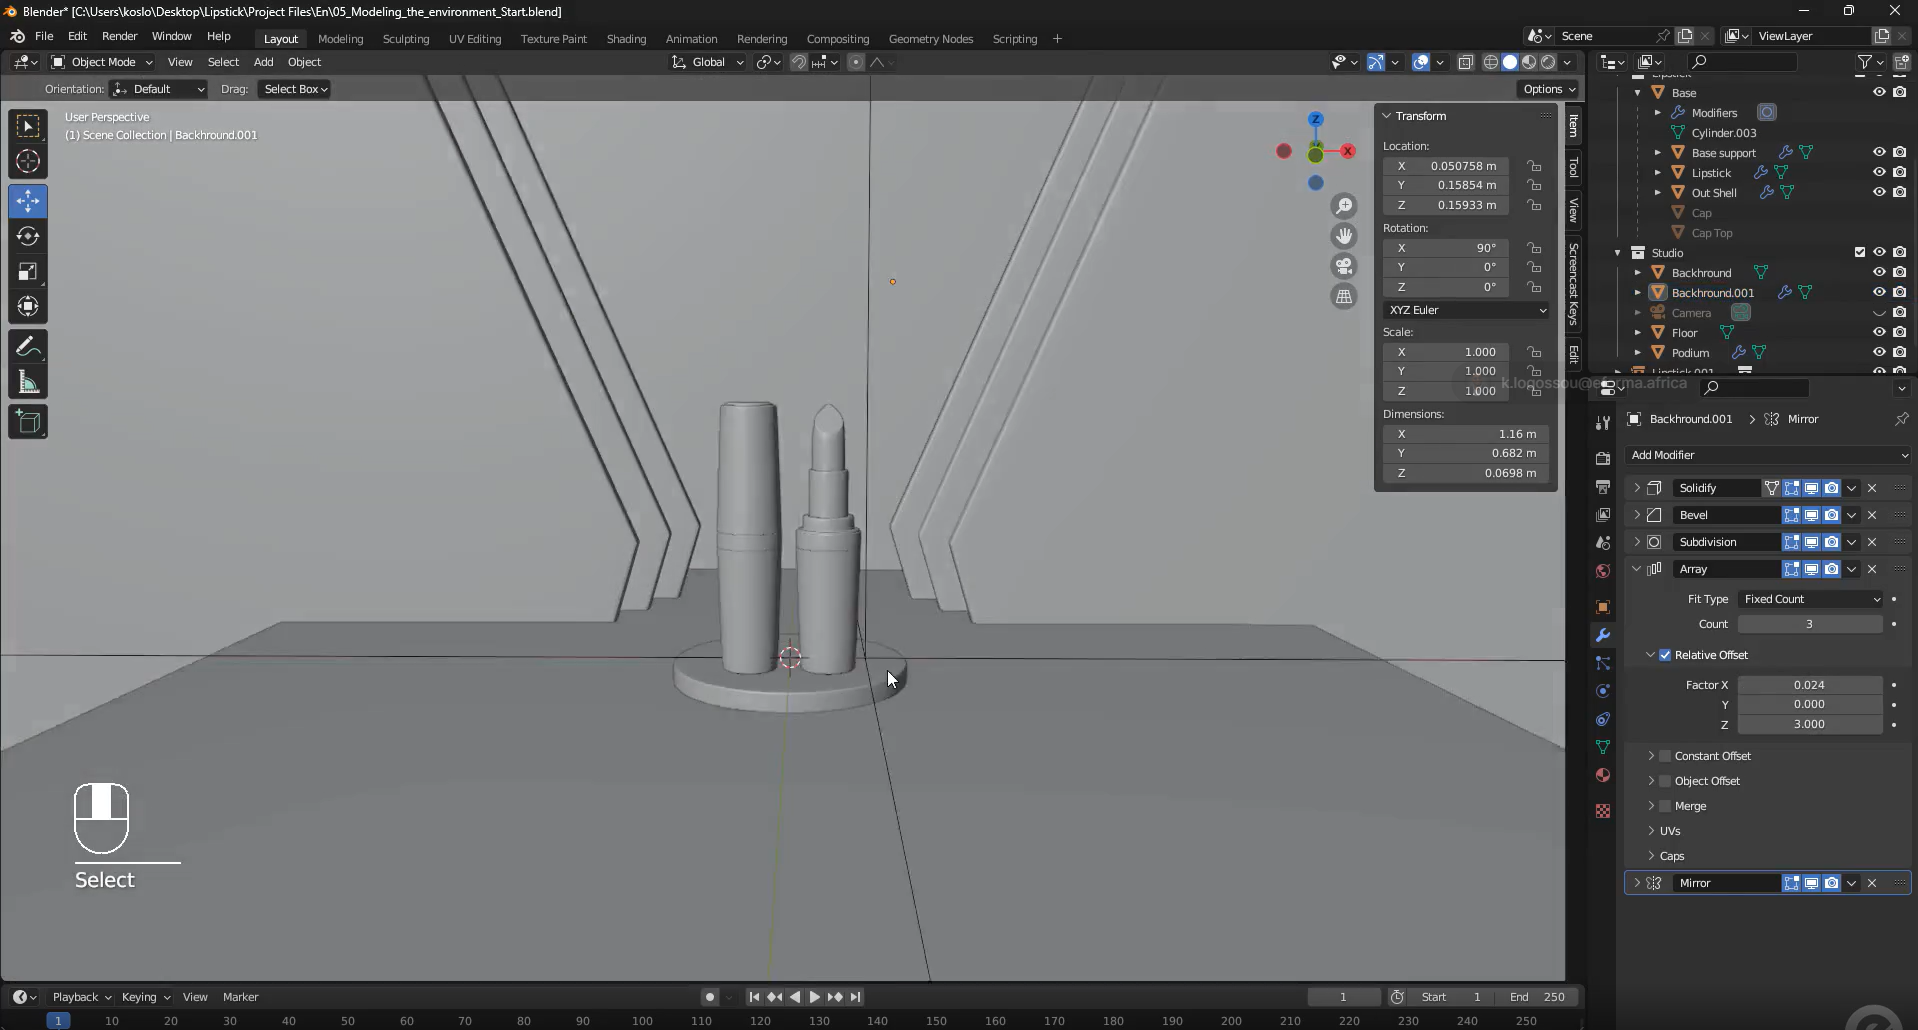
Step 3 — Modeling of lipstick and decor
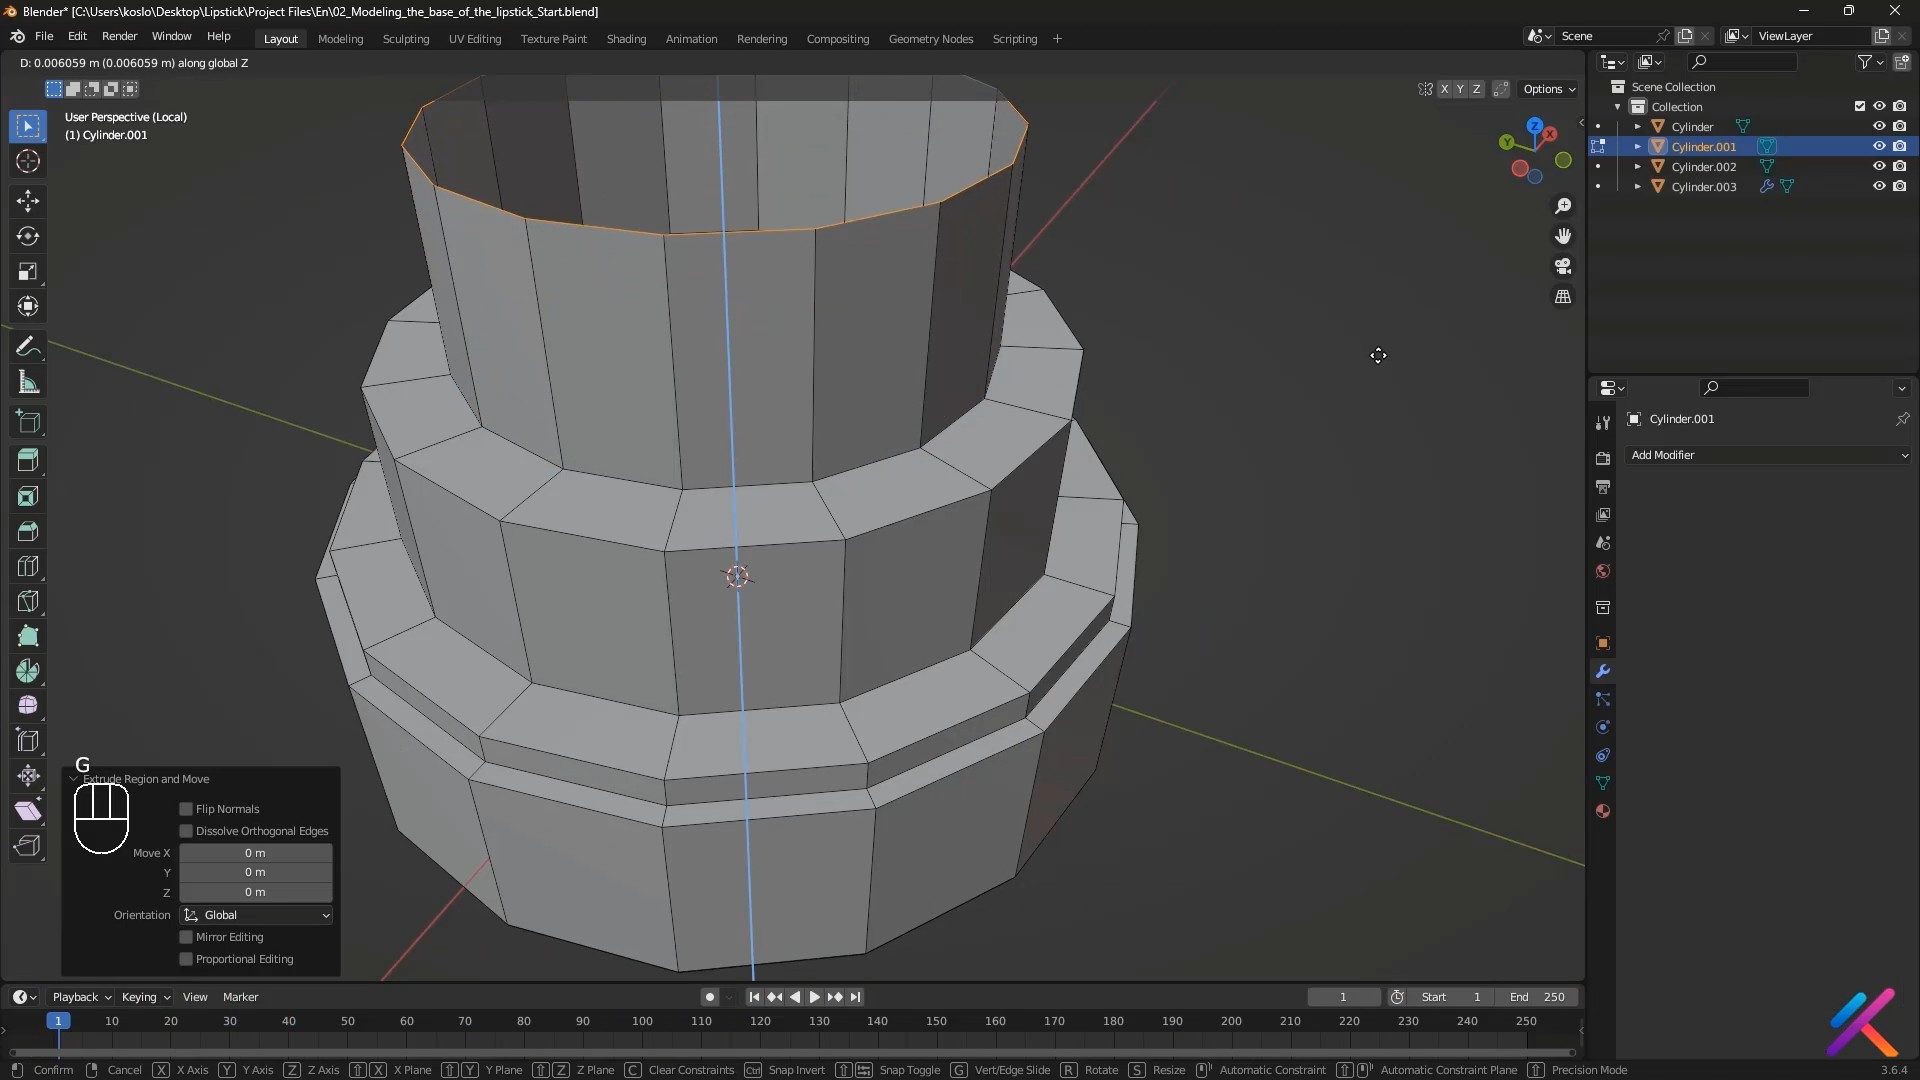
The case, the cap, the internal mechanism, and the lipstick stick are modeled from 3D primitives, with extrusion, beveling, and subdivision operations. A simple decoration is added to support the product presentation.
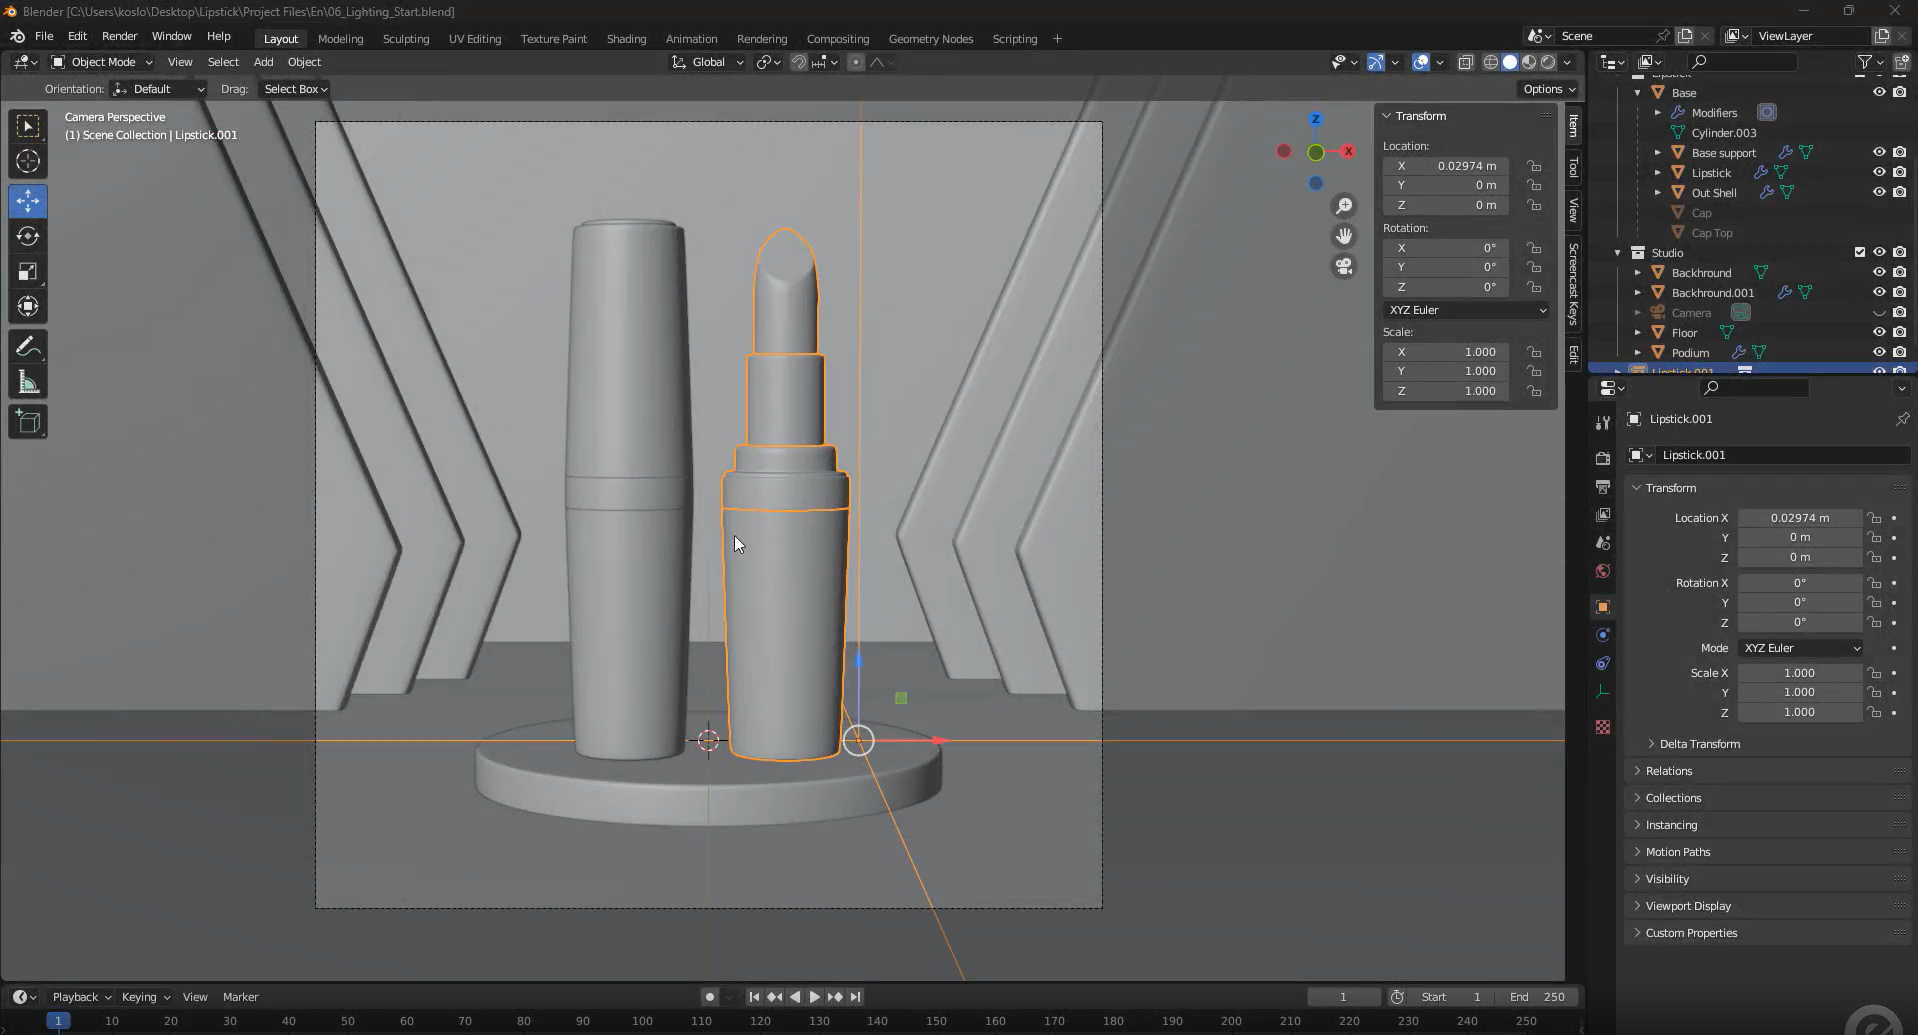
Step 4 — Setting up the camera and framing
The camera is positioned to obtain a flattering view of the lipstick and its packaging. The focal length, height, and shooting angle are adjusted to balance the product, negative spaces, and decorative elements in an advertising composition.
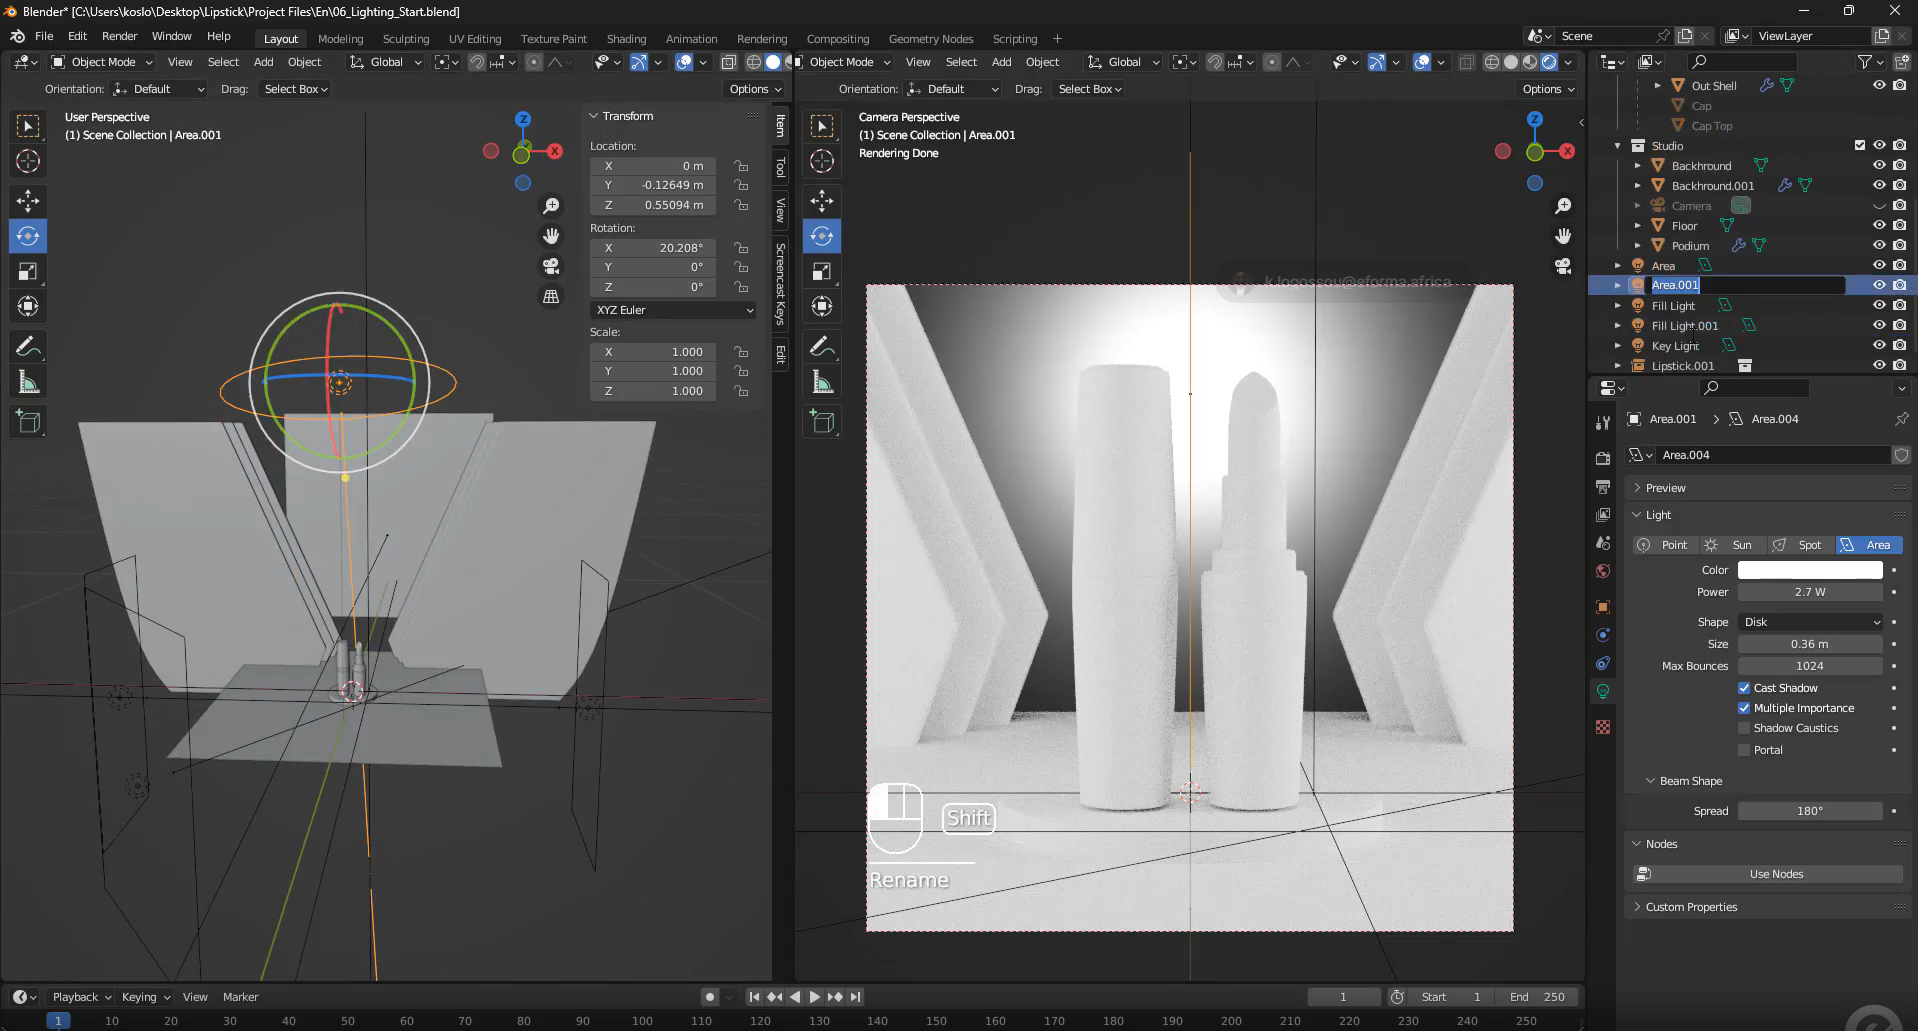
Step 5 — Product studio lighting
A lighting inspired by product photography is set up in Blender. Key, fill, and secondary sources are combined to reveal volumes, create controlled reflections on the casing, and maintain soft and realistic shadows.
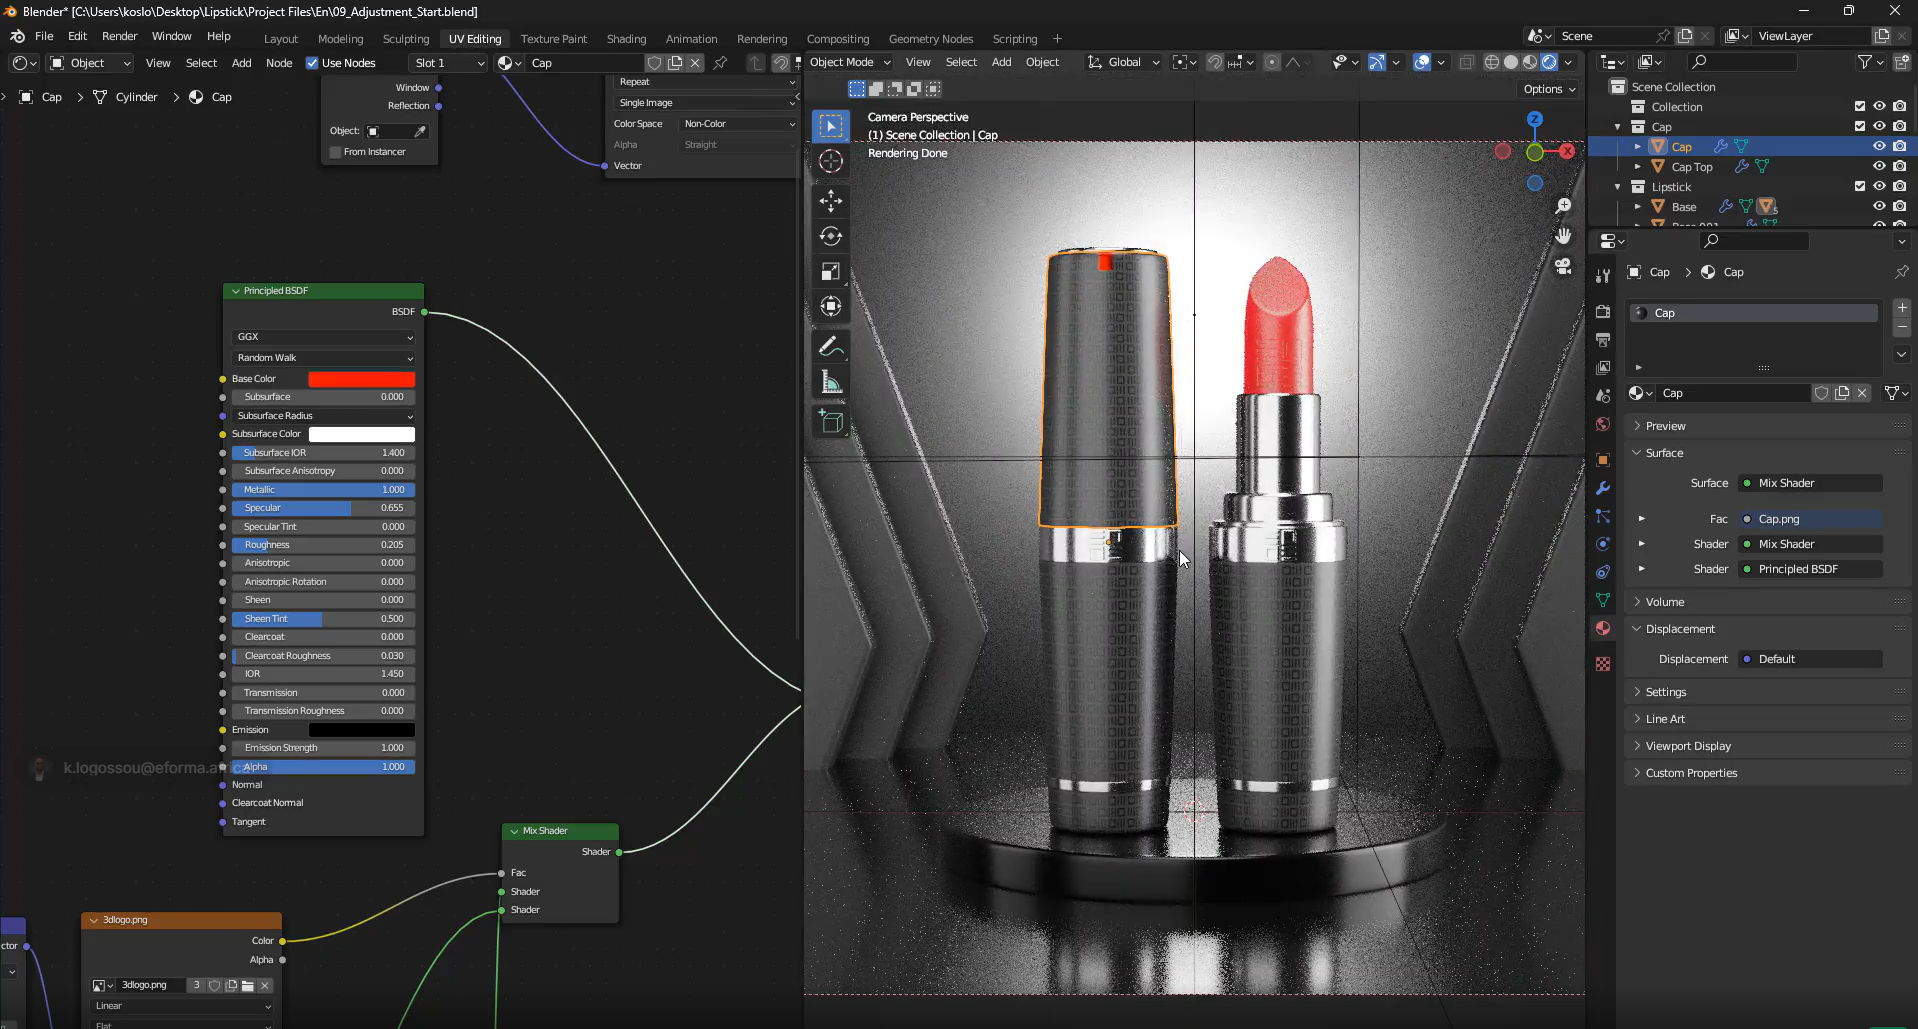
Step 6 — Creation of realistic materials
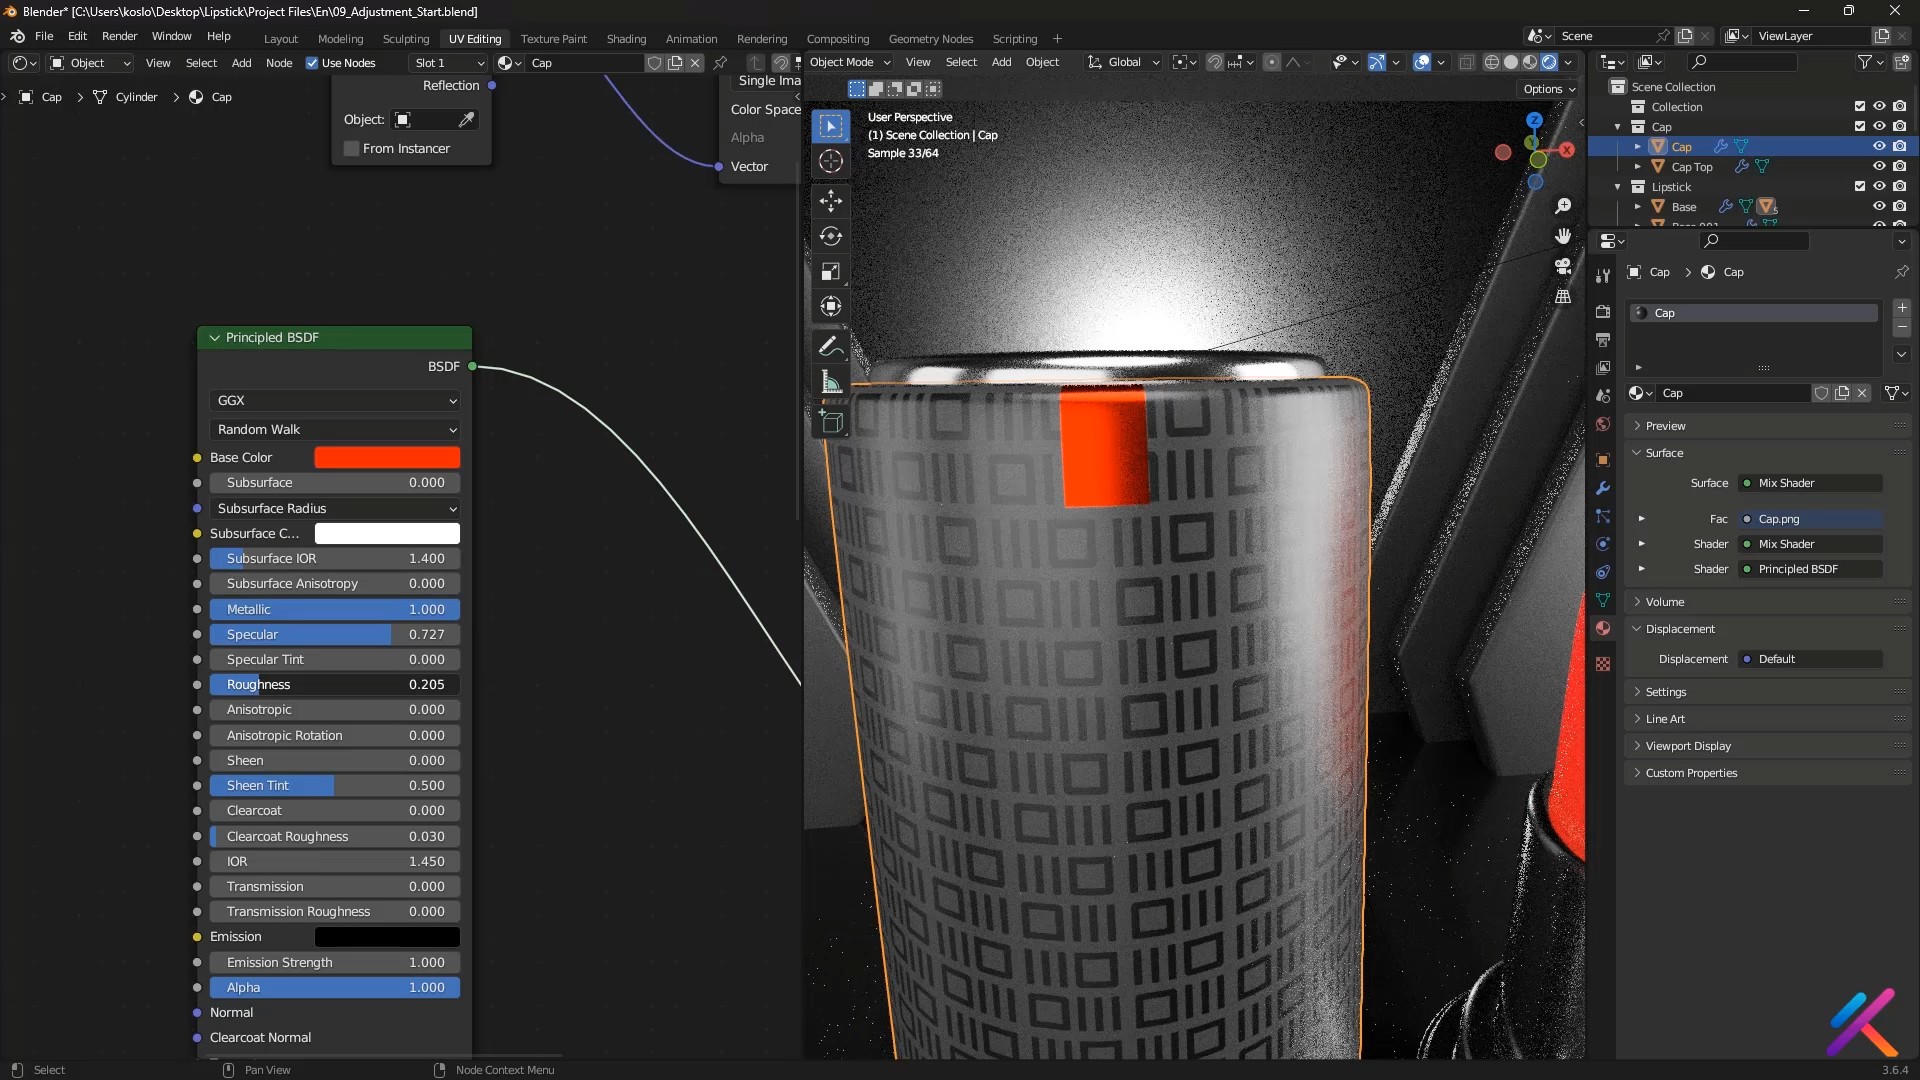
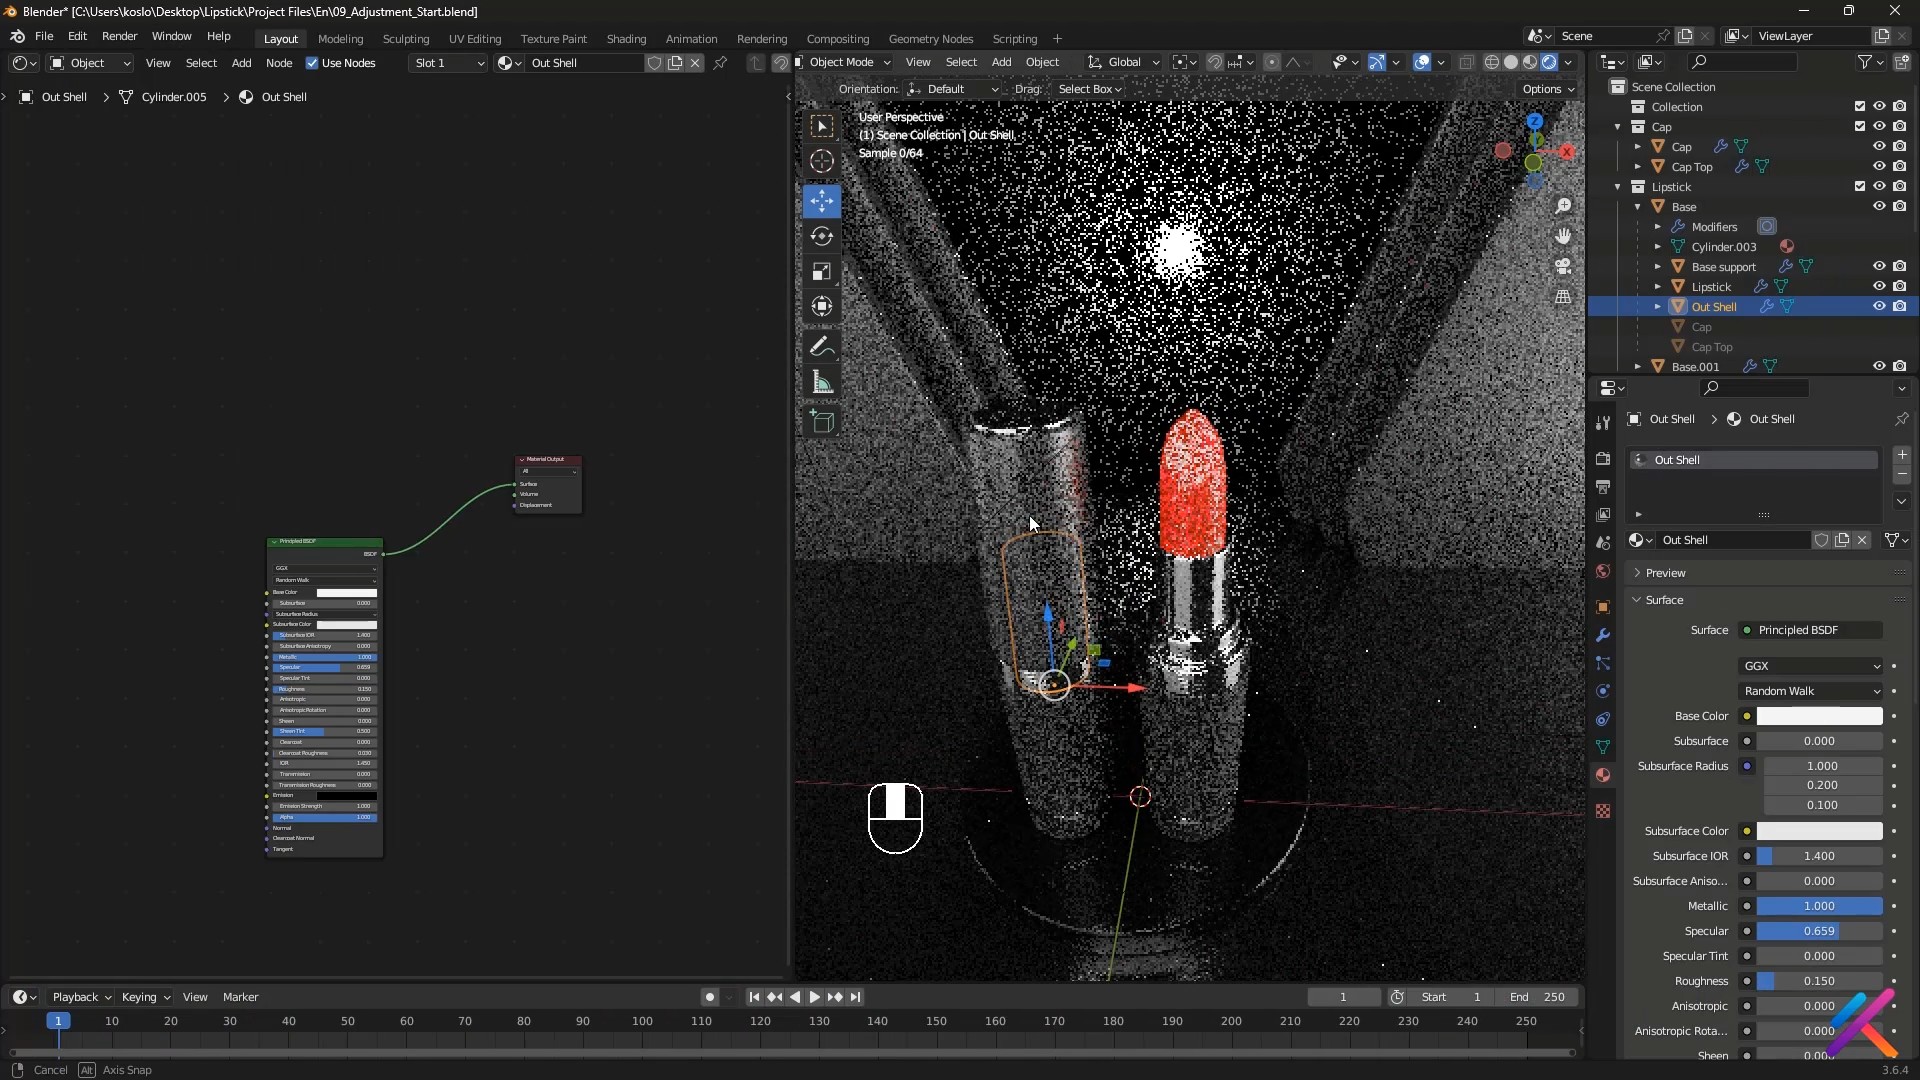
The materials are built with Blender nodes to differentiate metal, plastic, shiny surfaces, and the creamy texture of lipstick. The color, roughness, reflections, and micro-variations are adjusted to enhance the realism of each element.
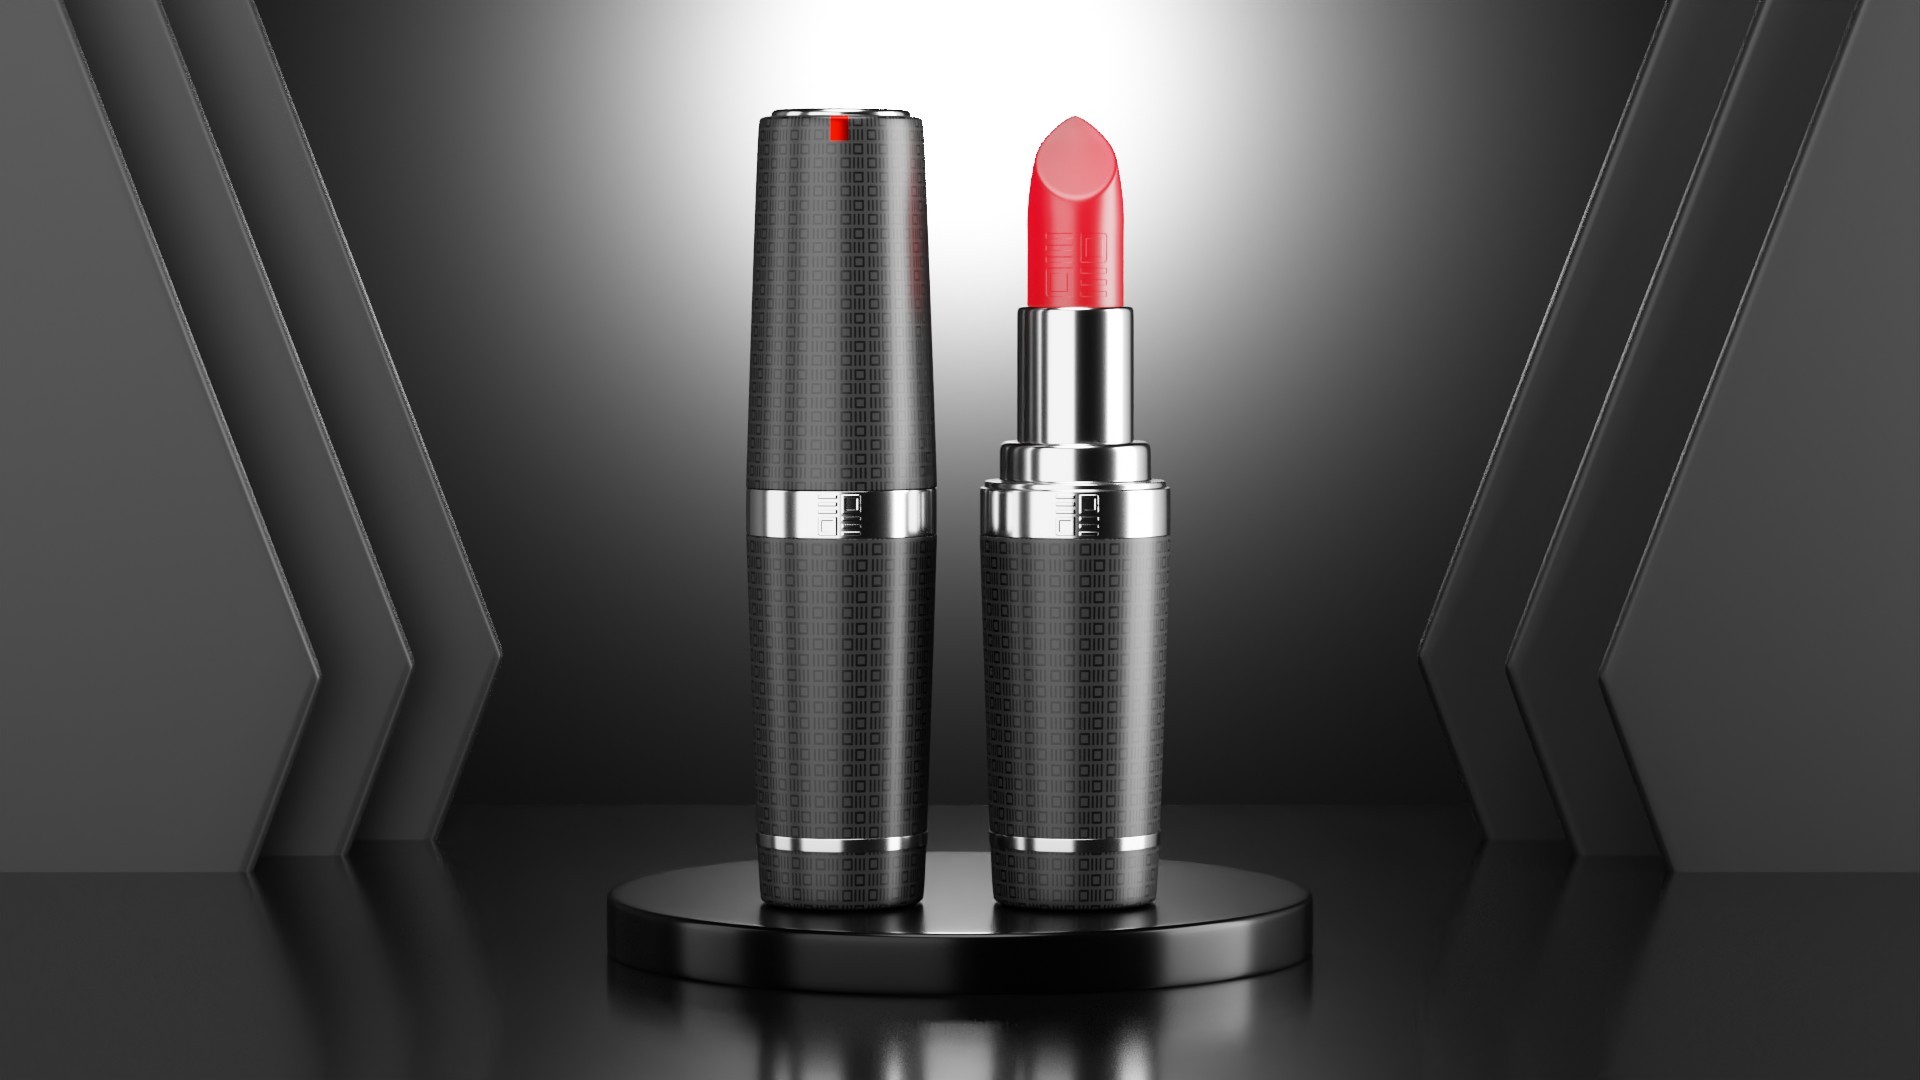
Step 7 — Photorealistic rendering with Cycles
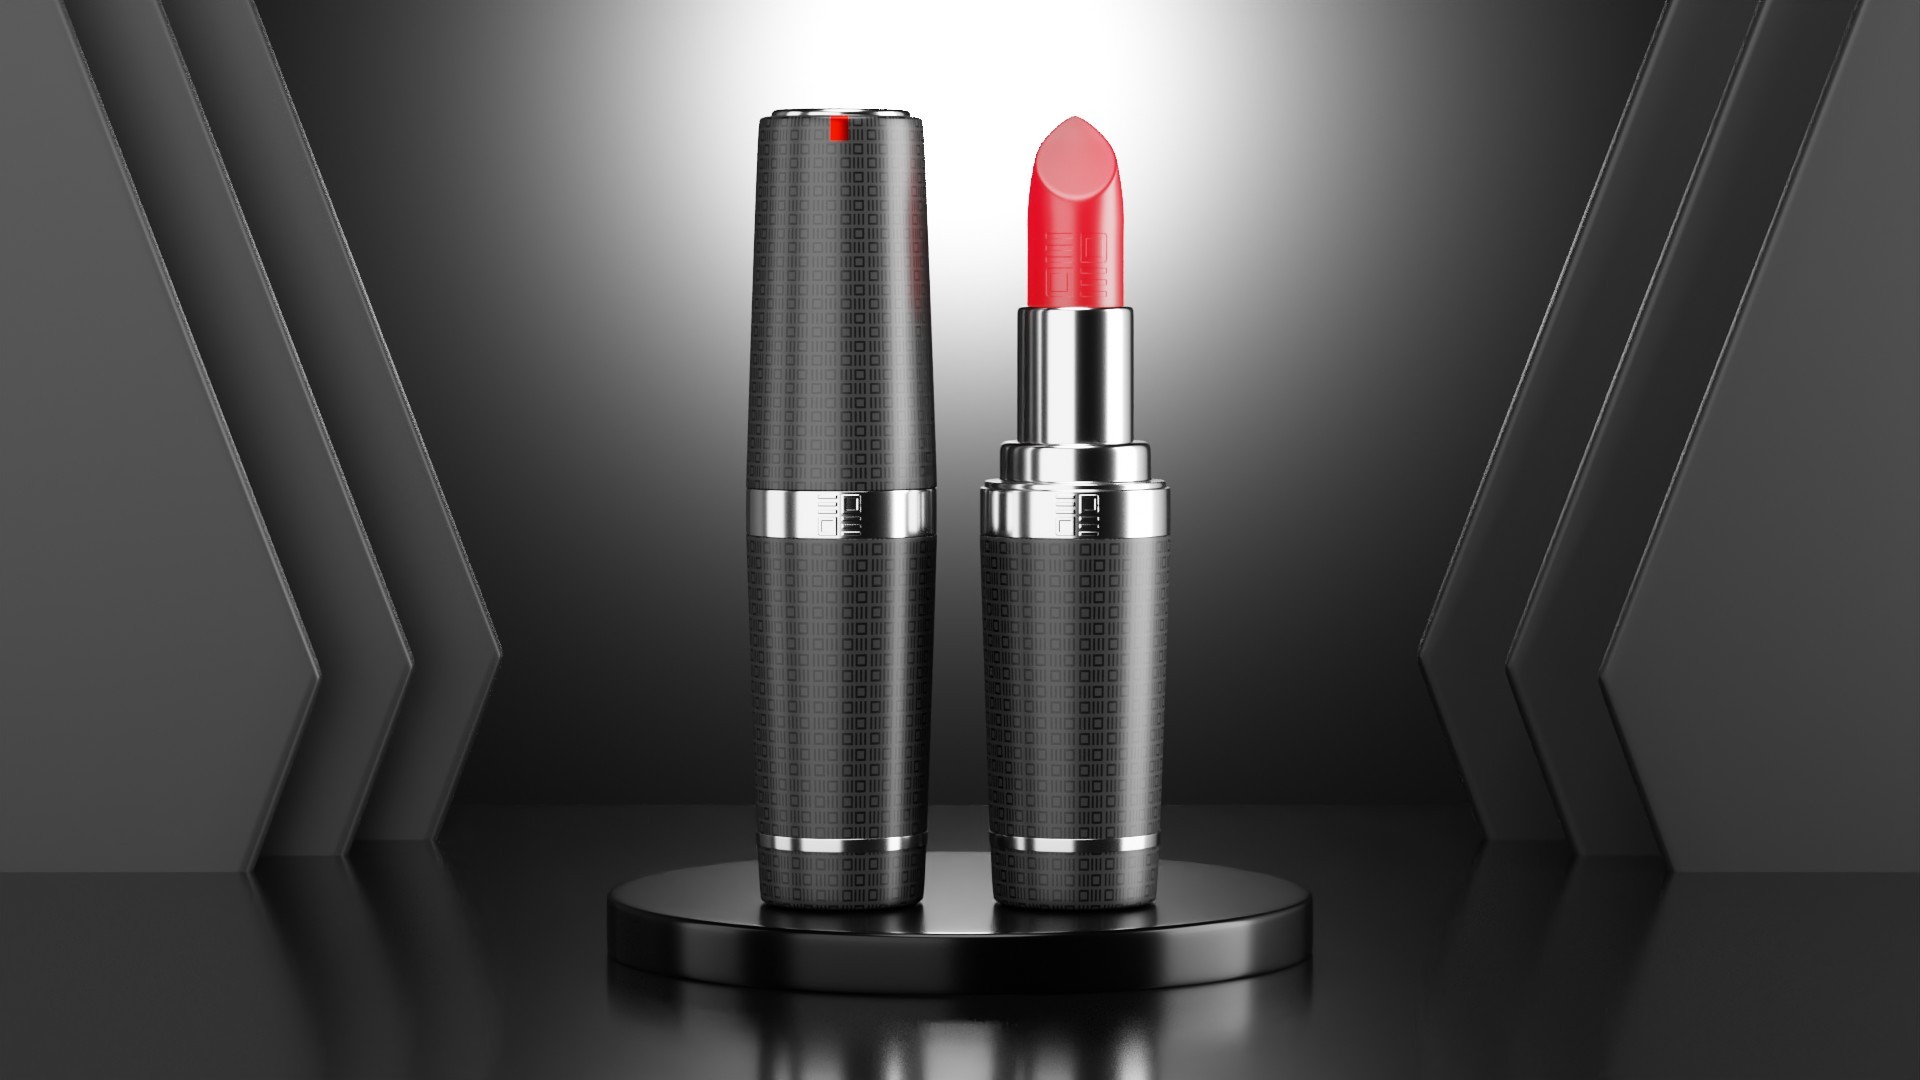
The final render is done with the Cycles engine. The resolution, the number of samples, noise management, and light parameters are adjusted to achieve a detailed and clean image. Several tests allow for correcting reflections, shadows, and overall balance before export.


.svg)
.svg)

.svg)
David Amewou